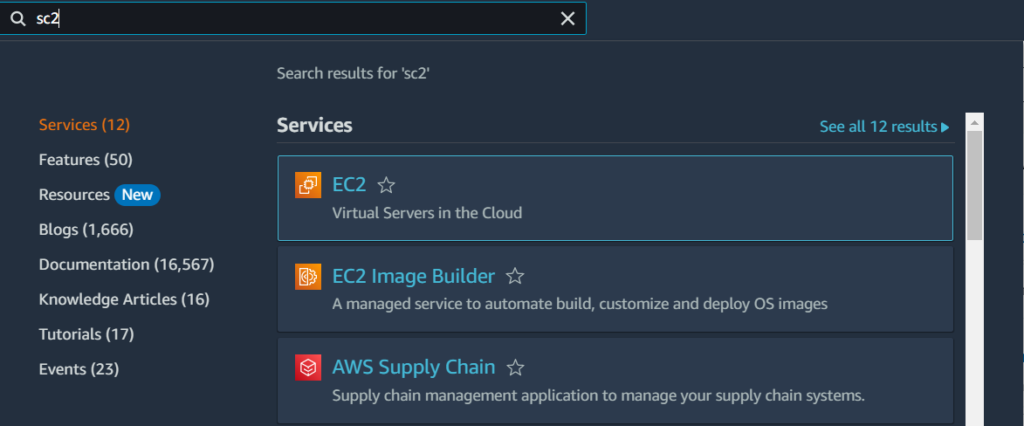
- EC2 services
- First of all, you should have instance.
- IAM services
- Then you have to make yourself a user.
- IAM POLICY
- The policy has to be implemented without creating a user.
- Then attach the policy you made to the user.
- Then log in to your user.
- Will open the EC2 instance services
- Then will see this dance after start stop terminate.
1.Log into the AWS Management Console.
2. Navigate to the EC2 Dashboard by clicking on the “Services” dropdown menu, selecting “Compute,” and then clicking on “EC2.”

3. Click on the “Launch Instance” button.
4. Select the Amazon Machine Image (AMI) you want to use for your instance.

5. Choose the instance type that best fits your needs.
6. Configure the instance details, including the number of instances you want to launch, network settings, and storage.
7. Add any additional tags, if desired, to help you identify your instance.
8. Configure security groups to control inbound and outbound traffic to your instance.
9. Review your configuration and launch your instance.
Once your instance is launched, you can connect to it via SSH or RDP to configure it further and install any necessary software.
1. navigate to the IAM Dashboard by clicking on the “Services” dropdown menu, selecting “SecuritNy, Identity, & Compliance,” and then clicking on “IAM.”

2. Click on “Users” from the left-hand menu and then click on the “Add user” button.
3. Enter the name of the new user.

4. Select the access type for the new user. You can choose between programmatic access (access key ID and secret access key) and AWS Management Console access (a password that allows access to the AWS Management Console).
5. If you selected programmatic access in the previous step, select the permissions for the user by adding them to one or more groups or attaching an IAM policy directly to the user.
6. If you selected AWS Management Console access in the previous step, create a custom password or let AWS generate one for you.

7. Click “Next: Permissions” to assign the user permissions

8. Review your configuration and click on the “Create user” button. Once you have created the IAM user, you can provide the user with the necessary credentials (access key ID and secret access key or password) and permissions to access the AWS services and resources that they need.

Click Download .csv file
1.Log into your AWS Management Console and navigate to the IAM service dashboard.
2. Click on “Policies” in the left-hand menu and then click on the “Create policy” button.

3. If you choose the “Visual editor” tab, select the service the policy will apply to, and then choose the actions and resources the policy will allow or deny.

4. Select the “JSON” tab to create your policy in JSON format.
( permission DENY )

5. After creating the policy, enter a name and description, and click “Create policy.”


6. Define your policy by adding the required statements. Each statement must include an action, resource, and effect. The effect must be set to “Deny” to explicitly deny access to the specified resources.
Attach policy
1. Once in the IAM console, click on the “Users,” “Groups,” or “Roles” tab in the left-hand menu, depending on which entity you want to attach the policy to.
2. Select the user, group, or role that you want to attach the policy to.
3. Click on the “Permissions” tab, and then click on the “Attach policies” button.
4. In the search bar, type the name or description of the policy that you want to attach, and then select the policy from the list.

“Attach policy” to attach the policy to the selected entity.

After attaching the policy, the user, group, or role will have the permissions granted by the policy. You can also create custom policies and attach them to entities as needed. Be sure to test your policies to ensure that they’re providing the intended access and restrictions. Click “Attach policy” to attach the policy to the selected entity.
Successful for Attach policies
Login for user
![]()
1. click on the search bar EC2
2. click for instance name

3. then click stop instance
 user does not stop the instance
4. then click Terminate instance

 user does not Terminate the instance
5. then click for start instance


user does not start an instance


