
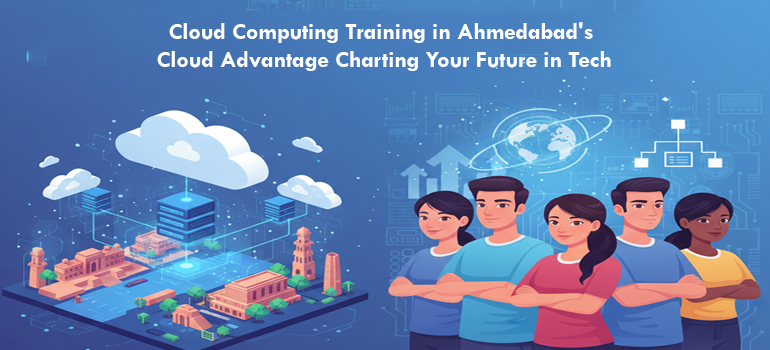
The world of technology is moving to the cloud, and businesses in Ahmedabad are no exception. There is a huge need for qualified cloud specialists as a result of this change. While enrolling in a cloud computing course is a fantastic first step, the job market is competitive. What steps do you take to ensure […]
In today’s rapidly evolving digital landscape, technology is not just changing, it’s transforming every industry. At the heart of this transformation lies Cloud Computing – an innovation that has revolutionized how businesses store data, run applications, and manage their IT infrastructure. From small startups to multinational corporations, everyone is leveraging the power of the cloud, […]

Cloud Computing Training in Ahmedabad has become an essential stepping stone for IT professionals and aspiring individuals looking to establish a prosperous career in the era of digitalization. As businesses rapidly shift their operations to cloud platforms, the demand for skilled cloud architects, developers, and administrators is escalating. Industry-recognized certifications validate your expertise and are […]
Mastering the Digital Horizon: Your Gateway to Cloud Computing Training in Ahmedabad The digital landscape is undergoing an unprecedented transformation, with cloud computing emerging as the bedrock of modern IT infrastructure. Businesses globally are migrating their operations to the cloud, creating an insatiable demand for skilled professionals who can navigate this dynamic environment. For aspiring […]
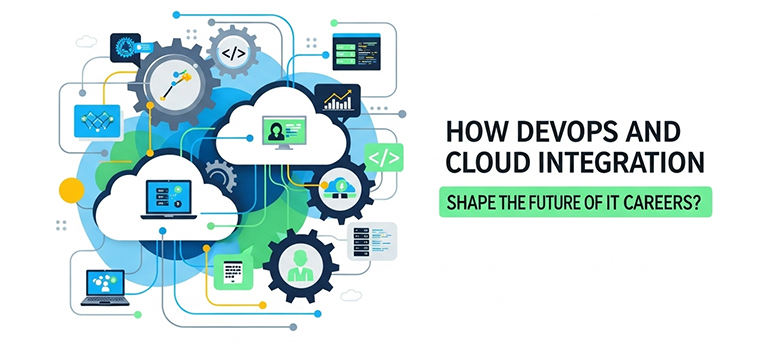
Why DevOps and Cloud belong together? Currently, modern business environments continue to adopt the cloud, thereby enabling the creation and deployment of applications at a new level. In parallel, the modern DevOps approach offers automation, agility, and continuous delivery. The Integration of the two continents offers solution architects the tools to create scalable systems that […]
The digital landscape is constantly evolving, and at its heart lies cloud computing. If you’ve ever wondered how your favorite apps store data, or how businesses operate without massive on-premise servers, you’re already glimpsing the power of the cloud. For absolute beginners, this technology might seem daunting, but it’s an incredibly accessible field with immense […]
The world of cloud computing often feels like a futuristic landscape, brimming with abstract concepts and exciting buzzwords. While the hype is undeniably real, so are the incredibly tangible and high-demand job opportunities awaiting skilled professionals who can navigate this dynamic environment. Moving past the theoretical, comprehensive Cloud Computing Training in Ahmedabad is your direct pathway to […]

Acquiring a certification is only a fragment of your journey through the clouds. As a professional, you need to have vital and industry-related connections, collaboration opportunities, and proper exposure to advance further in your career. If you are looking for Cloud Computing Training in Ahmedabad, it is time to open up to professional avenues other […]

Cloud computing means accessing and storing data on the internet through a remote server instead of local server or computer’s hardware. Most of the businesses are shifting towards it because of the following reasons. What is the demand of this skill? According to ‘The economic times’, most of the businesses will spend 80% of their […]
- Ansible Training
- AWS
- AWS Training and Certification
- Azure Training and Certification
- Cloud & Data
- Cloud Analytics
- Cloud Computing
- Cloud Technologies
- DevOps Training and Certification
- Docker and Kubernetes
- Google Cloud Platform Training
- IT Training and Certification
- linux
- Linux Training and Certification
- Microsoft Azure
- Python Training
- Red Hat
- RedHat Training and Certification
- UBUNTU
- UBUNTU L
- UBUNTU LINUX
Cloud computing is reshaping the landscape of businesses in the present world and having the proficiency in this area can prove to be a valuable asset for the career. These Cloud Computing Courses in Ahmedabad are structured with an aim to enhance the knowledge and skills of the participants. Highsky IT Solutions provides professional cloud […]
