
Why is DevOps Relevant Today? The demand for qualified DevOps personnel has grown significantly as companies work towards aligning development and operations teams. DevOps diminishes movement and turns around deployments to eventually deliver a steady and dependable product. With industries moving towards automation and embracing cloud-native tools, learning DevOps has become a requisite for anyone […]
The landscape of software development is constantly evolving, with DevOps emerging as a pivotal philosophy that bridges the gap between development and operations teams. Mastering this domain requires more than just understanding principles; it demands proficiency with a powerful suite of tools. If you’re looking to dive deep, a comprehensive Devops Online Course in Ahmedabad is your […]
In today’s fast-evolving tech landscape, DevOps skills are more in demand than ever, driving efficiency and innovation across organizations. Whether you’re a beginner looking to kickstart your career or an experienced professional aiming to upskill, finding the right training can be a game-changer. With numerous options available, from online platforms to in-person workshops, discerning the […]
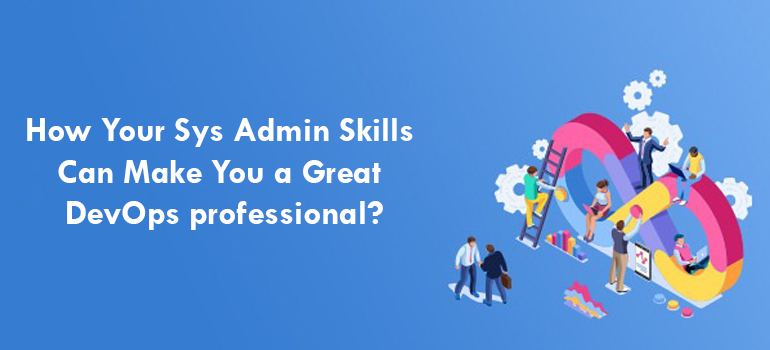
The IT environment is becoming diverse rigorously with thousands of innovative approaches. With this changing aspect, the roles of tech professionals are also evolving. One of the major and most-adopted transitions in the recent scenario is from a Sys Admin to a DevOps Engineer. However, you need to remember that as a professional, if you […]
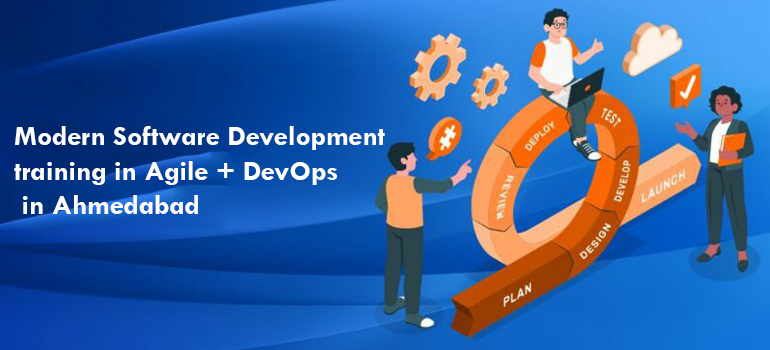
Today, when software development has a massive impact on the global market, having the skills of both Agile and DevOps can be extremely beneficial for developers. DevOps can be considered as an evolved agile practice. Both of them work better in combination than as adversaries. Agile + DevOps refers to the combined way of software […]
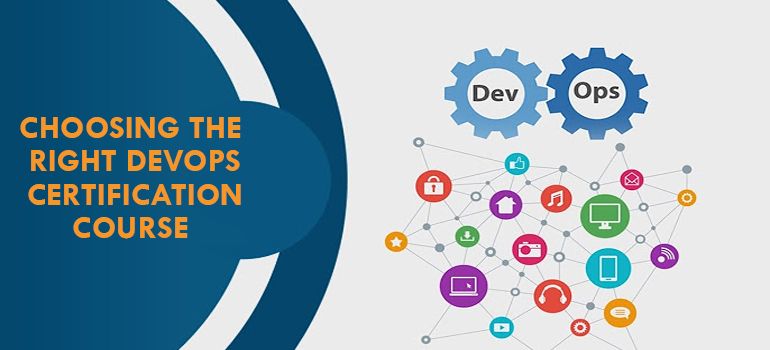
DevOps certification courses can strengthen your portfolio and increase the chances of your promotion or postings if you are a fresher. Doing courses on DevOps teaches you to build a stronger connection between the development and operation team, resulting in faster delivery of high-quality software. In this era of digitization and faster growth of IT […]
- Ansible Training
- AWS
- AWS Training and Certification
- Azure Training and Certification
- Cloud & Data
- Cloud Analytics
- Cloud Computing
- Cloud Technologies
- DevOps Training and Certification
- Docker and Kubernetes
- Google Cloud Platform Training
- IT Training and Certification
- linux
- Linux Training and Certification
- Microsoft Azure
- Python Training
- Red Hat
- RedHat Training and Certification
- UBUNTU
- UBUNTU L
- UBUNTU LINUX
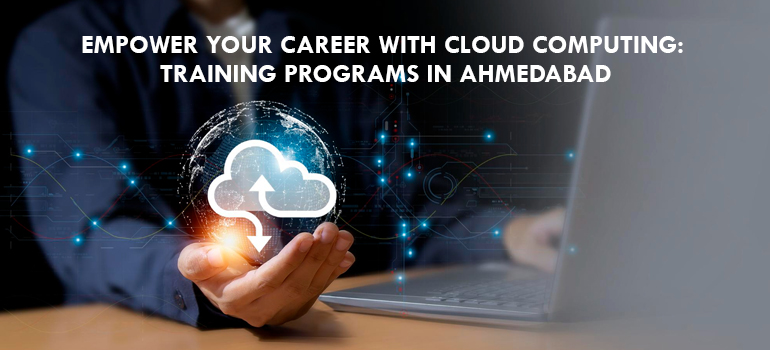
Cloud computing is reshaping the landscape of businesses in the present world and having the proficiency in this area can prove to be a valuable asset for the career. These Cloud Computing Courses in Ahmedabad are structured with an aim to enhance the knowledge and skills of the participants. Highsky IT Solutions provides professional cloud […]

- Ansible Training
- AWS
- AWS Training and Certification
- Azure Training and Certification
- Cloud & Data
- Cloud Analytics
- Cloud Computing
- Cloud Technologies
- DevOps Training and Certification
- Docker and Kubernetes
- Google Cloud Platform Training
- IT Training and Certification
- linux
- Linux Training and Certification
- Microsoft Azure
- Python Training
- Red Hat
- RedHat Training and Certification
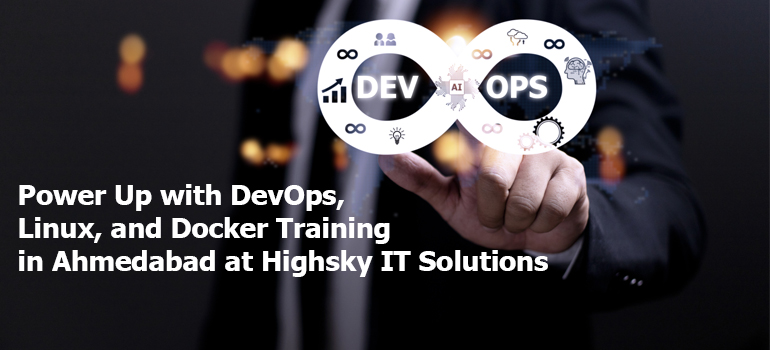
With the advancement of technology, there is a wide range of revolutionary training and courses that can lead you to a better future. One of the most important training is the Docker Training Course. The Docker training course is all about building and managing the applications. This also includes the deployment of the apps across […]
- Ansible Training
- AWS
- AWS Training and Certification
- Azure Training and Certification
- Cloud & Data
- Cloud Analytics
- Cloud Computing
- Cloud Technologies
- DevOps Training and Certification
- Docker and Kubernetes
- linux
- Linux Training and Certification
- Microsoft Azure
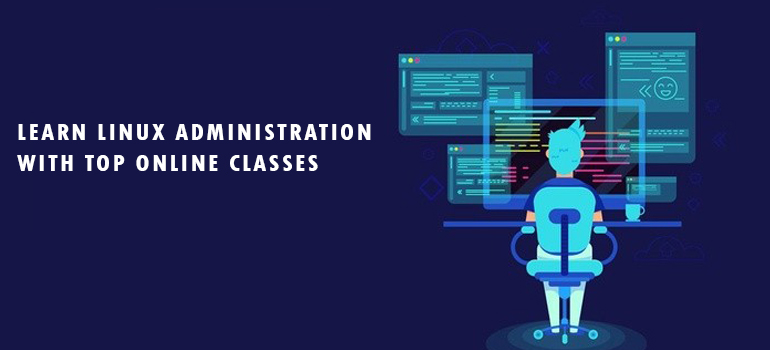
Are you ready to open the path to cloud computing’s powerhouse with Linux as your key? Linux is the backbone of cloud computing, and it is used in platforms like Amazon Web Services (AWS), Azure, and Google Cloud Platform (GCP). These services depend on Linux to operate smoothly. If you dream of working in cloud […]
- Ansible Training
- AWS
- AWS Training and Certification
- Azure Training and Certification
- Cloud & Data
- Cloud Analytics
- Cloud Computing
- Cloud Technologies
- DevOps Training and Certification
- Docker and Kubernetes
- Google Cloud Platform Training
- IT Training and Certification
- linux
- Linux Training and Certification
- Microsoft Azure
- Python Training
- Red Hat
- RedHat Training and Certification
In this day of digital revolution, being up-to-date with the changing technological trends is indispensable. Ahmedabad based Highsky IT Solutions is committed to provide you with the best-in-class training programs developed to make you competent in these fields. DevOps Training This is both the pillar and the main characteristic of coding and system operation in […]
