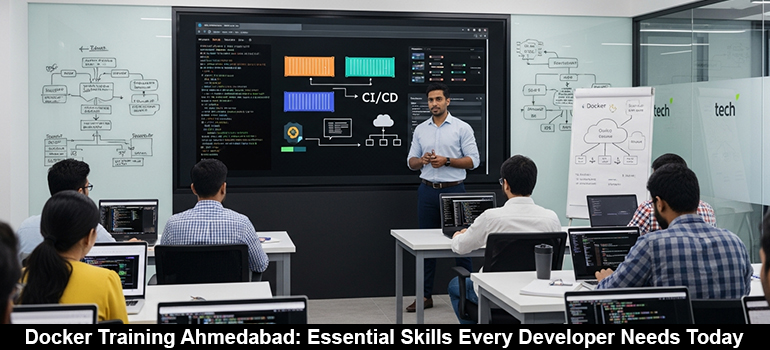
Best Docker Training Ahmedabad offers a crucial advantage for modern developers looking to advance their careers immediately. Software development changes rapidly, and containerization leads this major shift. Learning Docker helps you build, ship, and run applications anywhere with total ease. Developers who master this tool secure better job opportunities and solve complex deployment issues quickly. Why […]
In today’s fast-evolving business landscape, digital transformation isn’t just a buzzword – it’s a critical imperative for survival and growth. Enterprises are constantly seeking innovative ways to streamline operations, accelerate development cycles, and deliver value faster. At the forefront of this shift is containerization, and specifically Docker, which provides an unparalleled foundation for modern, agile […]
Docker containers have revolutionized how we develop and deploy applications, offering consistency and scalability. However, as applications grow more complex, so do the challenges of identifying and resolving issues within these isolated environments. Debugging in containers isn’t just about spotting errors; it’s about understanding the intricate dance of processes, networks, and volumes that make up […]
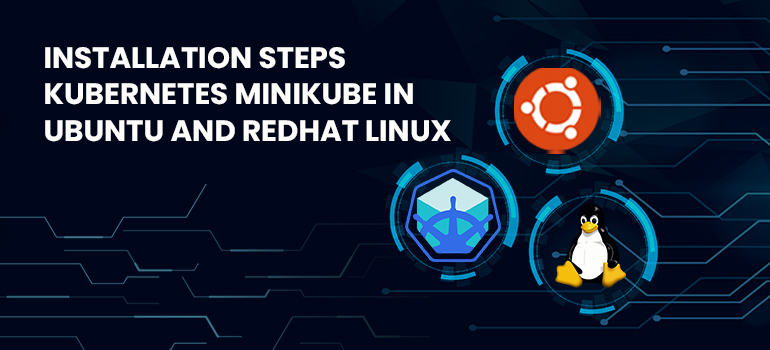
Minikube is local Kubernetes, focusing on making it easy to learn and develop for Kubernetes. Minikube is a opensource tool that help for development, testing and learning without install or setup multi node Kubernetes cluster. Minikube provides a lightweight, portable solution that can quickly be set up with a single command. System Requirements: 2 CPUs […]

- Ansible Training
- AWS
- AWS Training and Certification
- Azure Training and Certification
- Cloud & Data
- Cloud Analytics
- Cloud Computing
- Cloud Technologies
- DevOps Training and Certification
- Docker and Kubernetes
- Google Cloud Platform Training
- IT Training and Certification
- linux
- Linux Training and Certification
- Microsoft Azure
- Python Training
- Red Hat
- RedHat Training and Certification
- UBUNTU
- UBUNTU L
- UBUNTU LINUX
Cloud computing is reshaping the landscape of businesses in the present world and having the proficiency in this area can prove to be a valuable asset for the career. These Cloud Computing Courses in Ahmedabad are structured with an aim to enhance the knowledge and skills of the participants. Highsky IT Solutions provides professional cloud […]

- Ansible Training
- AWS
- AWS Training and Certification
- Azure Training and Certification
- Cloud & Data
- Cloud Analytics
- Cloud Computing
- Cloud Technologies
- DevOps Training and Certification
- Docker and Kubernetes
- Google Cloud Platform Training
- IT Training and Certification
- linux
- Linux Training and Certification
- Microsoft Azure
- Python Training
- Red Hat
- RedHat Training and Certification
With the advancement of technology, there is a wide range of revolutionary training and courses that can lead you to a better future. One of the most important training is the Docker Training Course. The Docker training course is all about building and managing the applications. This also includes the deployment of the apps across […]
- Ansible Training
- AWS
- AWS Training and Certification
- Azure Training and Certification
- Cloud & Data
- Cloud Analytics
- Cloud Computing
- Cloud Technologies
- DevOps Training and Certification
- Docker and Kubernetes
- linux
- Linux Training and Certification
- Microsoft Azure
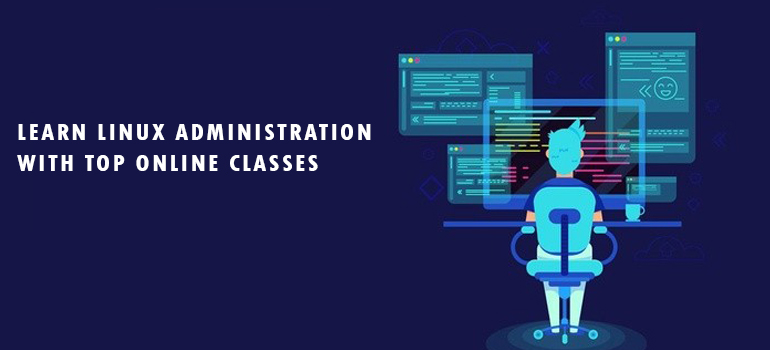
Are you ready to open the path to cloud computing’s powerhouse with Linux as your key? Linux is the backbone of cloud computing, and it is used in platforms like Amazon Web Services (AWS), Azure, and Google Cloud Platform (GCP). These services depend on Linux to operate smoothly. If you dream of working in cloud […]
- Ansible Training
- AWS
- AWS Training and Certification
- Azure Training and Certification
- Cloud & Data
- Cloud Analytics
- Cloud Computing
- Cloud Technologies
- DevOps Training and Certification
- Docker and Kubernetes
- Google Cloud Platform Training
- IT Training and Certification
- linux
- Linux Training and Certification
- Microsoft Azure
- Python Training
- Red Hat
- RedHat Training and Certification
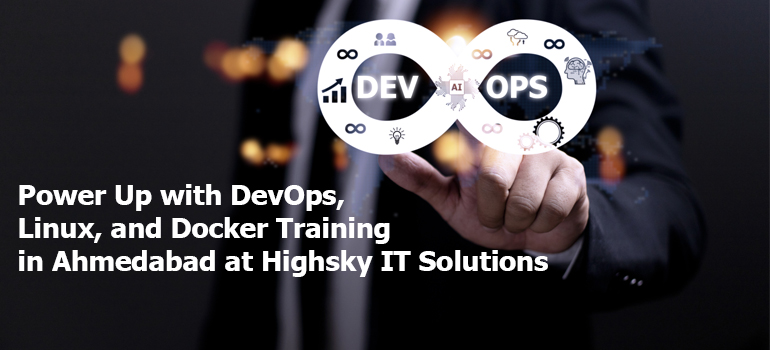
In this day of digital revolution, being up-to-date with the changing technological trends is indispensable. Ahmedabad based Highsky IT Solutions is committed to provide you with the best-in-class training programs developed to make you competent in these fields. DevOps Training This is both the pillar and the main characteristic of coding and system operation in […]

- Ansible Training
- AWS
- AWS Training and Certification
- Azure Training and Certification
- Cloud & Data
- Cloud Analytics
- Cloud Computing
- Cloud Technologies
- DevOps Training and Certification
- Docker and Kubernetes
- Google Cloud Platform Training
- IT Training and Certification
- linux
- Linux Training and Certification
- Microsoft Azure
- Python Training
- Red Hat
When it comes to cloud computing adoption, it is seen through the overall rapid growth of the industry. About 96% of organizations already incorporated use of the cloud computing to some extent. On an average, businesses leverage nearly 5 separate clouds in their business. Around 26% of enterprises spend over $6 million dollars per year […]
- Ansible Training
- AWS
- AWS Training and Certification
- Azure Training and Certification
- Cloud Analytics
- Cloud Computing
- Cloud Technologies
- DevOps Training and Certification
- Docker and Kubernetes
- Google Cloud Platform Training
- IT Training and Certification
- linux
- Linux Training and Certification
- Marketing
- Microsoft Azure
- Python Training
- Red Hat
- RedHat Training and Certification
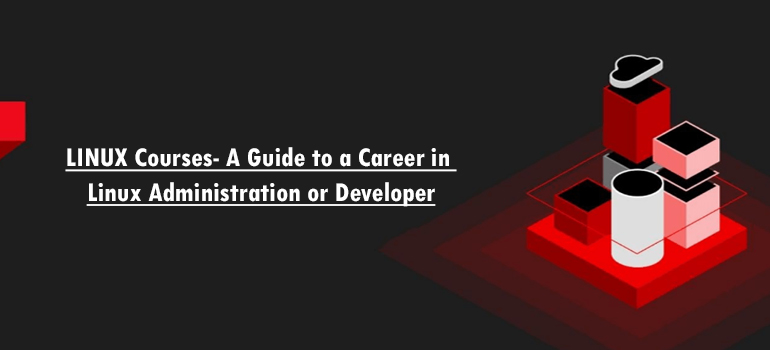
Are you interested in building a career in Linux Operating Systems? Today, Linux talents are booming, and employers are getting more recognition in the IT industry. So, making a career out of this will bring success in the future. About a decade ago, only a handful of companies were offering Linux jobs. But today, the […]
